


The Ultimate Guide to Ronnie Rigs?

The Ronnie Rig (or Spinner rig as its also known) is without doubt one of the most popular rigs on the Carp Scene today, most anglers either use these or have used them. The Ronnie rig was originally designed to be used with pop ups however, it can be used very effectively with wafters and bottom baits.
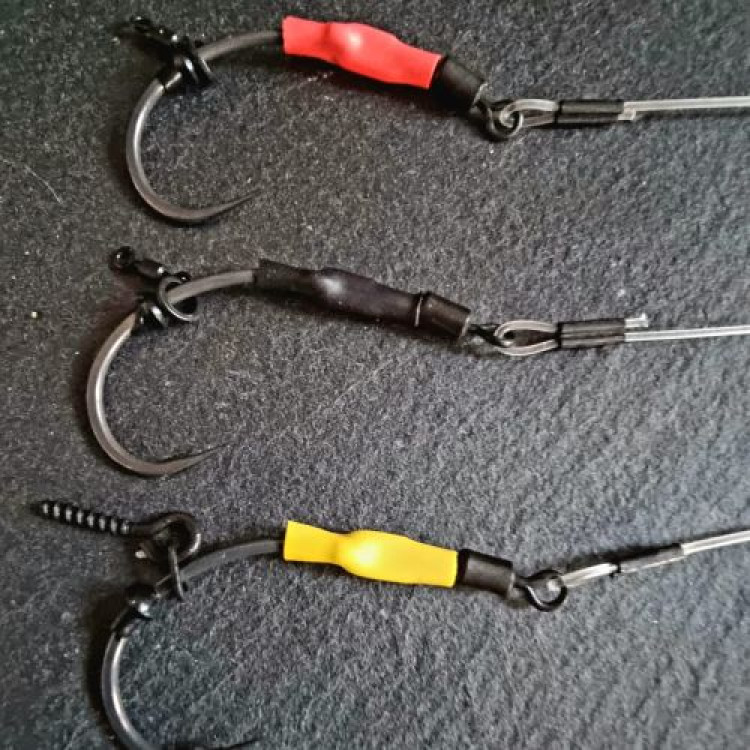
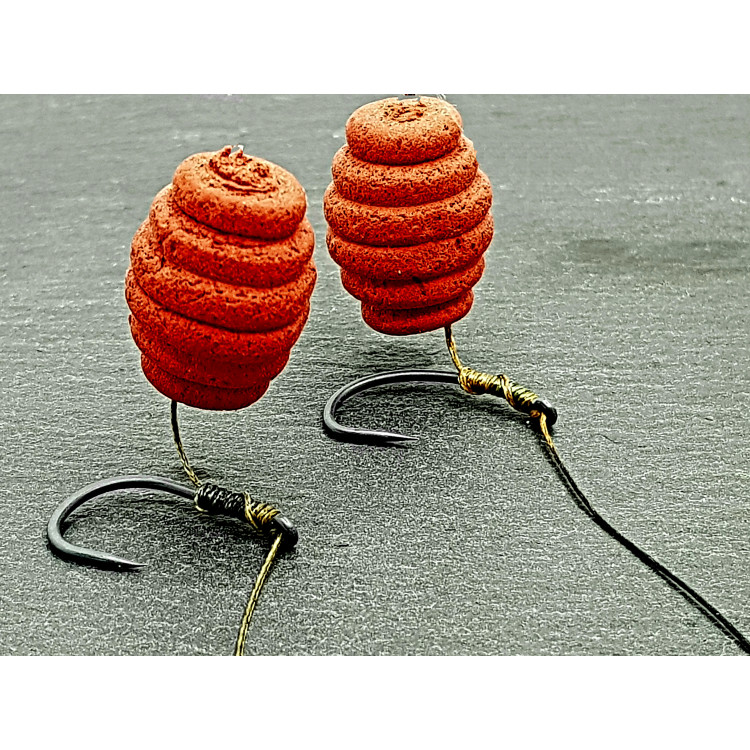
Recent adaptions of ronnie rigs have included taking certain elements of other rigs and incorporating them in to the devastating ronnie rig presentation. We offer a wide range of ronnie rigs and their adaptions including slip ronnie rigs, ronnie hair rigs, Ronnie D rigs and the most recent adaption to be thrown back in to the spotlight the shot on the hook rig. To enhance the effectivness of the Ronnie rig you can use this rig with most lead arrangements - Lead Clip or Helicopter, even inline leads and you can fish this rig effectively over most lake beds!

The history of the Ronnie rig
The original Ronnie rig is credited to the anglers Gary "ronnie" and Steve "the Apache" Cliff at the Elstow clay pits. The original Ronnie rig was made using a heavy braid to tie the hook to a swivel and to present the bait in a Slip D style. The swivel would mean no matter what way the fish approached your bait the hook will spin and take hold in the bottom lip. People then started to use the original Ronnie rig with all manners of baits and soon found that it was devasting with all baits. As the rig gained popularity people started to use Quick Change swivels and bending out the crook so that it could pass through the eye of the hook, They then used shrink tube over the eye of the hook and the crook of the swivel to get that claw style presentation. With more and more anglers using the rig and the more publicity the rig gain some of the main stream fishing brands soon started to produce specialised Ronnie or spinner swivels which didn't require the crook to be opened up, special aligners designed to go over the eye of the hook and the swivel, even special balancing weights to go on the swivel, Tungsten beads that means you can change the whole hook section in seconds
Now the Ronnie rig is widely used with either a ultra stiff boom, a stiff boom and even coated braid or if you want to use the ronnie rig in a PVA solid bag they are even available with a supple braid to enable this!

How to use the Ronnie rig effectively
Whilst most ready made ronnie rigs are ready to go with either a braided boom or a crimped stiff boom already attached, they are ready to go if you are using a bottom bait, wafters and pop ups may require some special tweaking to get the best out the rig.
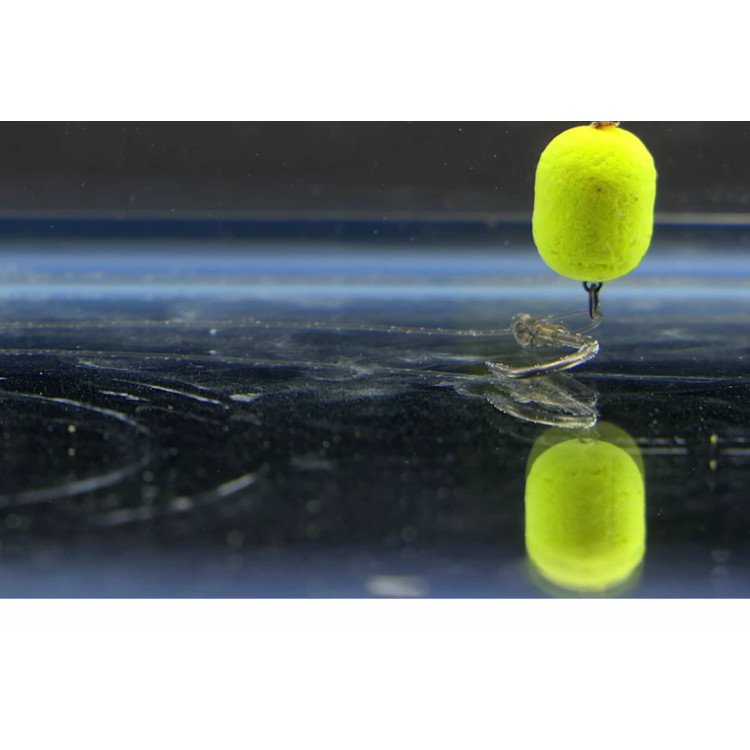
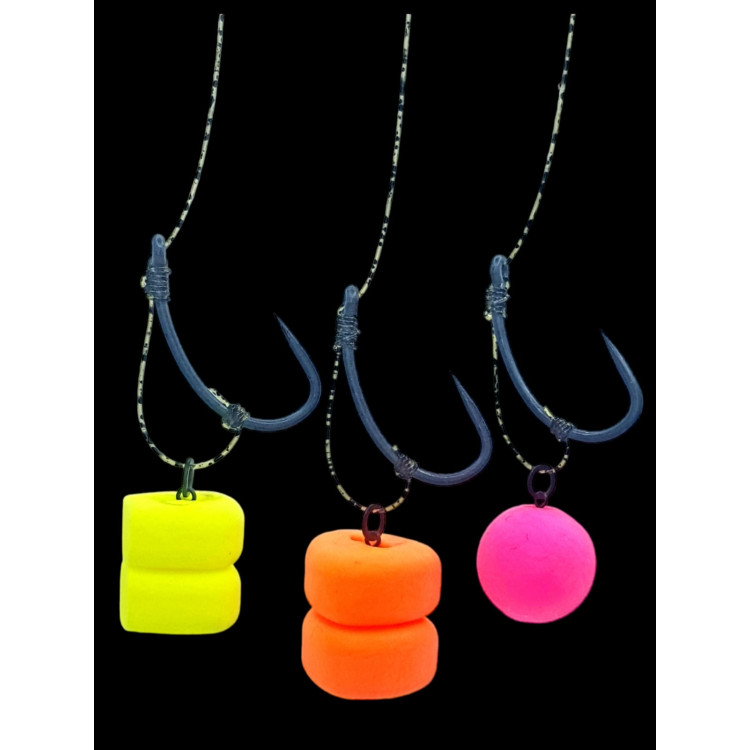
When using wafters you want the hook to lay flat on the bottom and the bait to hover just above it. Wafters will vary in buoyancy from one brand to another and even from the same tub of wafters so fine tuning will be required. To fine tune your rig is really easy, have a clear tub of water ready. Add your bait to your rig via your chosen method: Rig ring, micro flexi swivel or bait screw. Now place the rig in your tub of water if the wafter lifts the hook section, simply take some scissors and trim your hook bait down. Trim your hook bait down a little bit each time until you get it just right where the rig falls slowly through the water and comes to rest laying flat and your bait wafting just above the hook.
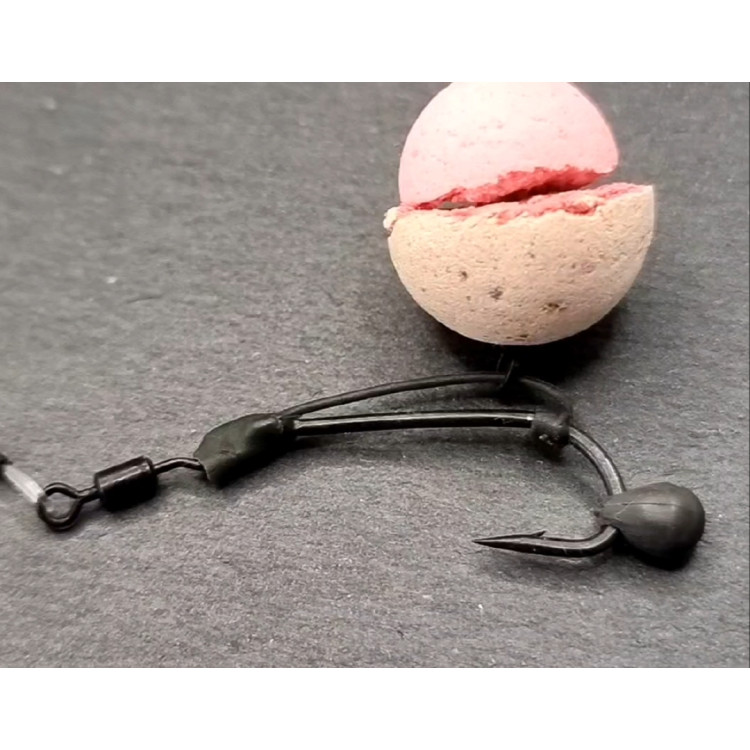
When using a pop up, the presentation is different. You want the boom section laying flat but the hook section siting up like a claw on the bottom. Like wafters the buoyancy of a pop up will alter from brand to brand so you will need to test the rig in your tub of water. You want the rig to fall slowly through the water and the hook to sit up ready to nail any inquisitive fish. If you find your pop up lifts your rig up then you will need to add some Tungsten putty to the boom section (around the crimp or knot nearest to the hook section). A top tip is its easier to add to much putty and then slowly take some off than it is to try and add putty when the rig is wet.

How to make your own Ronnie rigs?
Making Ronnie rigs is actually quite easy. Firstly you need to gather the components:
Ronnie Swivels
Your choice of boom - Either Ultra Stiff boom, A Stiff Boom like Amnesia, a Coated Braid like Korda N Trap Semi Stiff or if you want to use the ronnie rig in a solid bag - a supple braid like Fox Reflex or Korda Dark Matter
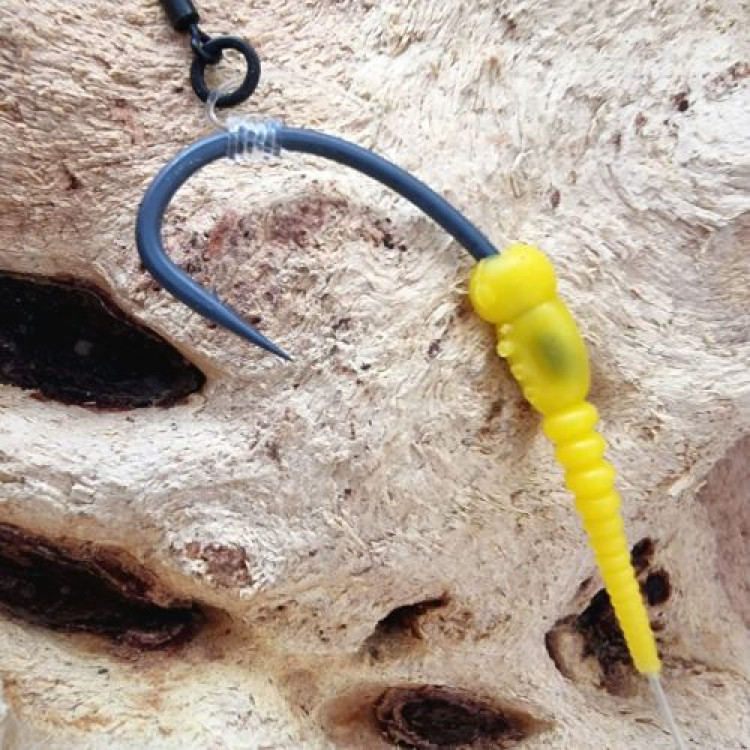
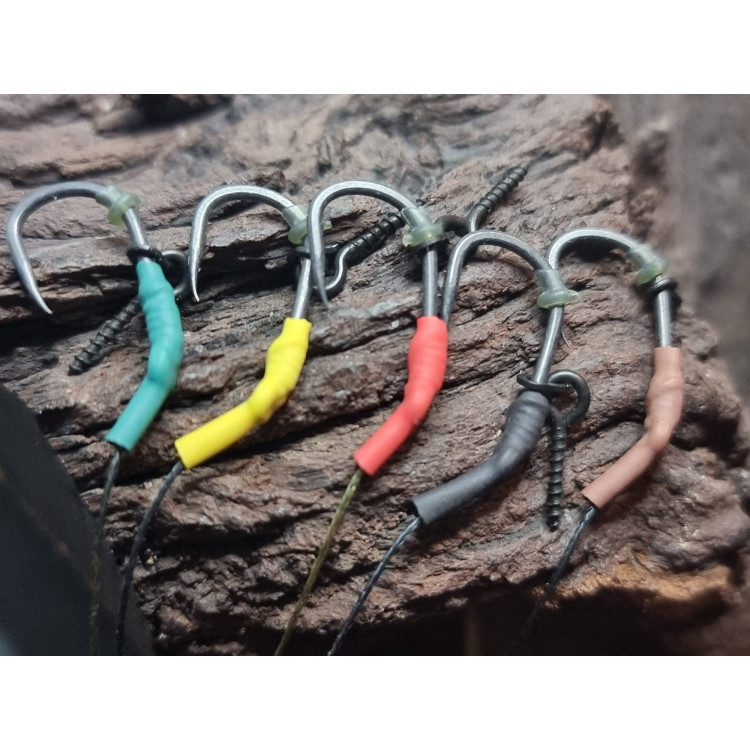
Your choice of hooks - The most common is the Curve shank hook, however you can use most patterns the important thing is to ensure the hook has a inturned eye because this helps to get that claw shape. The most popular size is either a size 4 or 6.
Your chosen bait attachment
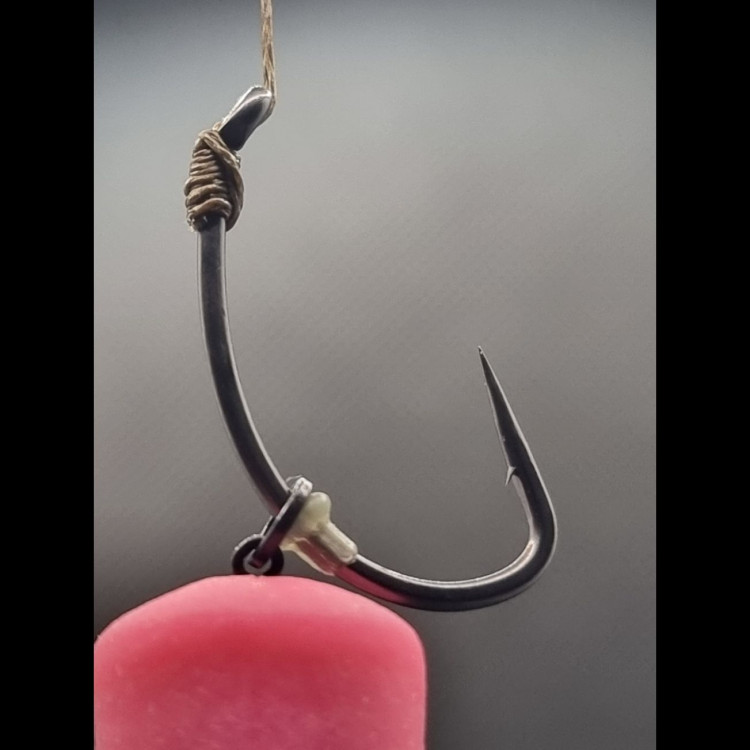
Some hook beads - The OMC long distance hook beads are about the best I have ever used
Specialised Ronnie swivels - Most brands do these
A length of 2.4mm Shrink tube or a aligner that will fit over the hook and swivel like the OMC Dazzler Inturns
If you are wanting to crimp your amnesia or Ultra stiff boom you will need the correct size double barrelled crimps (0.6mm for 25lb amnesia, 25lb Korda Boom etc) and some crimping pliers designed to crimp double barrelled crimps - Do not use normal pliers or incorrect crimping pliers because this may damage the boom section and will probably fail.
Now you have gathered all the required components here is how to make the hook section. Firstly take your hook and check to ensure the eye is properly formed and the point isn't damaged (even brand new hooks can have defects)
Next take either your aligner or cut about 1-2cm length of shrink tubing. Put this on your hook making sure the eye of the hook is exposed
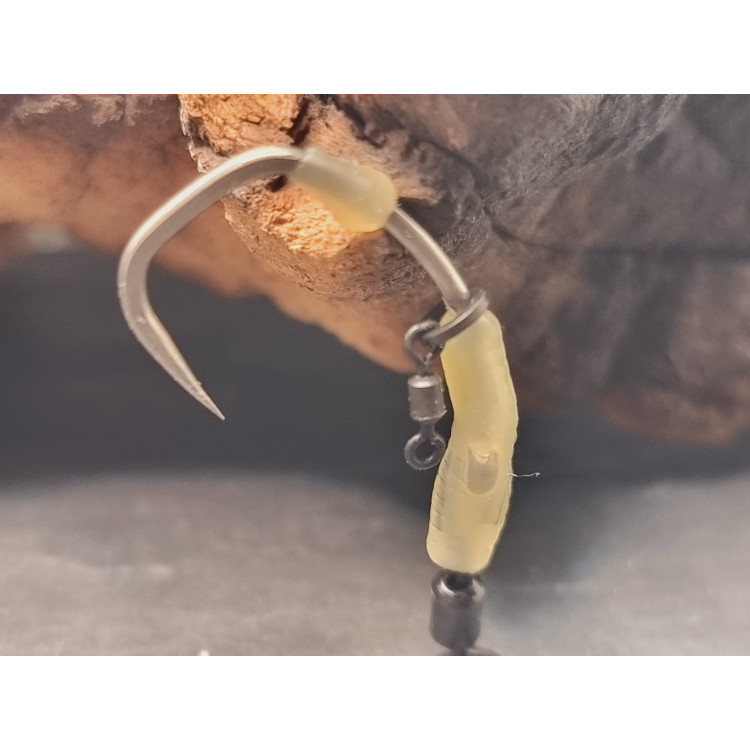
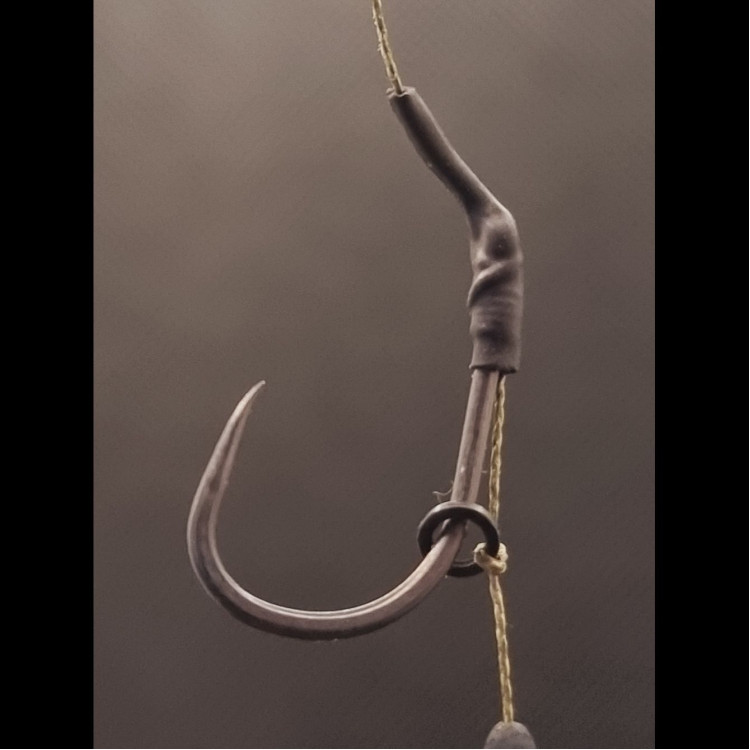
Take your Ronnie Swivel and pass the crook through the eye from the front of the hook to the back. Once this is through the eye either slide your aligner over the eye of the hook and on to the crook or slide the shrink tube over the crook of the swivel, You need to ensure the eye of the hook remains covered. Once you have done this then all you need to do is shrink the tubing down with either steam or carefully with a lighter.
Add your bait attachment to the hook and then your hook bead. You want the hook bead to be placed opposite the barb of the hook.
Thats the hook section done. Next is the boom
If you are using a coated braid then simply tie one end to the ronnie swivel either with a loop or tight to the swivel. Ensure you don't break the coating of the braid, Add on a anti tangle sleeve if required and then tie a figure of eight loop the other end at the desired length.
If you are using boom or a crimpable material then slide a crimp on to your selected material. Then pass the end of your material through the ronnie swivel and through the other side of the crimp. You can either crimp the swivel quite tight or leave a little loop to allow more movement. Once you have the crimp in position, use the correct size slot in your crimping pliers and close the crimp. Slide on a anti tangle sleeve if required and then crimp another loop at the other end at your desired length. I personally test the rig now with some rig pullers to ensure the crimps have closed properly and not at risk of slipping. Once you are happy with your rig, simply hold the rig with some rig pullers over steam to get that nice straight finish.
Thats it, the rig is made... Alternatively you can save the expense of buying in all the components and buy some ready made ronnie rigs here.

Where can I buy Ready Made Ronnie Rigs?
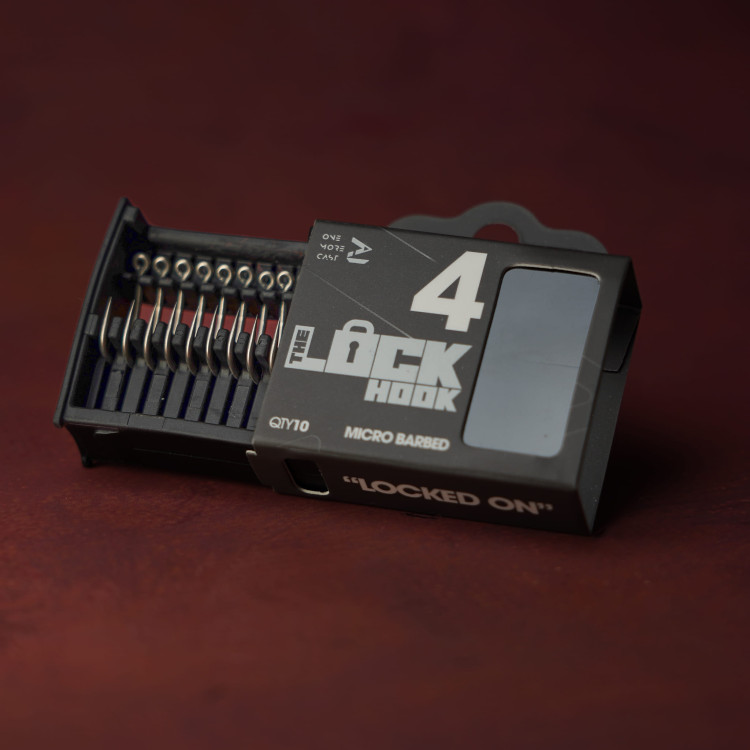
You can of course buy your ready made ronnie rigs / Spinner rigs right here on our website. As with all our rigs they are professionally tied by anglers, and every single rig is checked for imperfections prior to dispatch. We offer a wide range of variations and also a premium range of Ronnie rigs or spinner rigs which includes hooks from the main stream brands such as ESP, Korda, OMC, Nash, Pallatrax, Trakker, Gardner etc. If we don't have something you require you can always contact us and we will endeavour to make your rigs truly custom to you!